Watermelons, the quintessential summer fruit, are a beloved crop in American agriculture, with major production hubs in Florida, California, Texas, and Georgia supplying fresh markets, roadside stands, and processing facilities nationwide. Known for their juicy sweetness and versatility, watermelons benefit from modern techniques like precision irrigation and disease-resistant genetics to overcome challenges such as heat stress and variable rainfall. This guide presents a complete plan for growing watermelons, from sowing to harvest, tailored for U.S. farmers who want to leverage technology for higher quality and sustainable yields.
Selecting Watermelon Varieties and Site Preparation
Picking the right variety is essential for adapting to local conditions. In the U.S., seedless hybrids dominate for consumer appeal, while seeded types offer robust flavor in traditional markets. Opt for varieties resistant to Fusarium wilt, anthracnose, or gummy stem blight, such as those with shorter days to maturity for northern edges of the growing zone or heat-tolerant ones for the Deep South. Consider market trends—mini watermelons for urban sales or large icebox types for picnics.
Site selection prioritizes warm, sunny locations. Watermelons excel in sandy loams or light soils with excellent drainage and a pH of 6.0 to 6.8 to prevent nutrient lockup. Deploy GPS soil probes to create fertility maps, identifying spots for organic amendments like aged manure to boost tilth without compacting. Avoid heavy clays that hold excess moisture, which can lead to fruit rot.
Rotation plays a key role; follow non-cucurbit crops like tomatoes or corn to sidestep soil pathogens. In pre-season, test for nematodes using bait plants, and fumigate if thresholds are high, though biological alternatives like cover crop rotations are gaining favor for long-term soil health.
Field Preparation and Sowing Strategies
Field prep starts in late winter for southern states, emphasizing raised beds 8-12 inches high to enhance drainage and warm soils faster. Modern growers use plastic mulch laid with embedded drip tape, which not only suppresses weeds but also facilitates fertigation. Minimal tillage preserves earthworm activity, with rotary hoes breaking clods for a smooth seedbed.
Sowing aligns with soil temperatures above 70°F, typically April to June across regions—earlier in Florida, later in Texas panhandle areas. Direct-seed at 2-3 seeds per hill, spaced 3-6 feet apart in rows 6-10 feet wide to allow vine sprawl. Plant 0.5 to 1 inch deep; vacuum precision seeders ensure accurate placement for uniform germination in 4-10 days.
For an early start, raise transplants in greenhouses 3-4 weeks ahead, hardening them off before field setout. Seed treatments with bio-protectants guard against damping-off. Farm apps syncing with soil thermometers help nail the timing, dodging cool snaps that delay growth.
Crop Establishment and Early Growth Management
Once vines emerge, focus on vigorous rooting. Thin to one plant per hill, training main stems if trellising for smaller varieties to save space and improve air circulation. Initial irrigation via drip lines provides 1 inch weekly, ramping up as leaves unfold, while overhead sprinkling is avoided to keep foliage dry.
Fertilization is targeted: a balanced starter mix at planting delivers phosphorus for roots, with nitrogen and potassium followed through drip lines based on weekly leachate tests. This prevents salt buildup in mulched systems. Early drone scans reveal weak spots for spot-boosting with liquid feeds.
Weed management starts with the mulch barrier, supplemented by shallow cultivation between rows. Pre-emergent herbicides fit under plastic, but hand-weeding near hills preserves roots. Digital scouting tools log vine progress, flagging areas for manual cleanup.
Mid-Season Care: Pests, Diseases, and Optimization
Vines peak at flowering around 50-60 days, demanding close watch. Irrigation totals 15-25 inches seasonally, scheduled via evapotranspiration data from on-site sensors to match peak transpiration during fruit set—crucial in California’s variable weather. Mulch retains moisture, cutting evaporation by half.
Nutrient fine-tuning includes calcium sprays to ward off blossom-end rot, guided by petiole analysis. Pests like aphids, cucumber beetles, and pickleworms require vigilant traps and row covers early on; introduce predatory mites or apply spinosad at economic levels. Sticky cards and pheromone lures provide real-time counts for decisions.
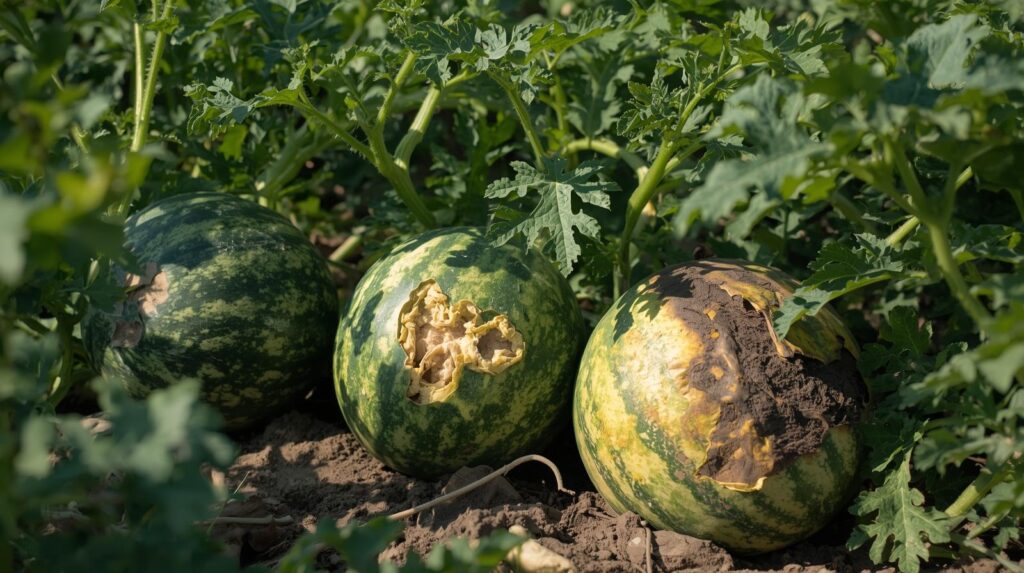
Diseases such as downy mildew or verticillium wilt call for resistant stock and preventive copper applications during humid periods. Prune excess foliage for sunlight penetration, and use spectral imaging from UAVs to map infections for localized treatments, preserving overall canopy health.
Harvesting and Post-Harvest Handling
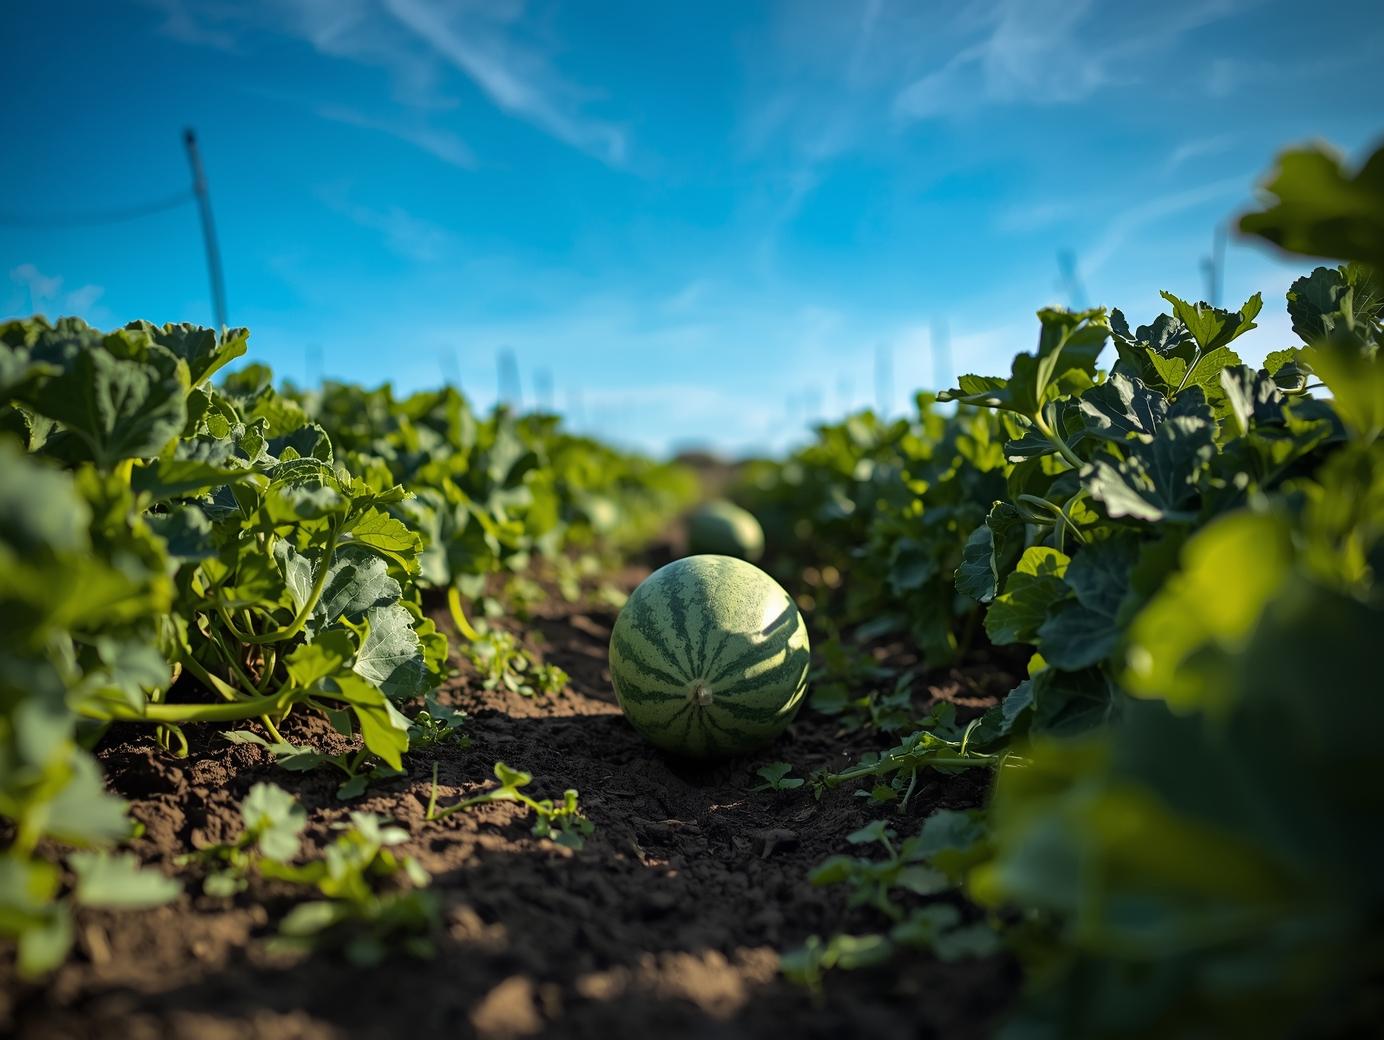
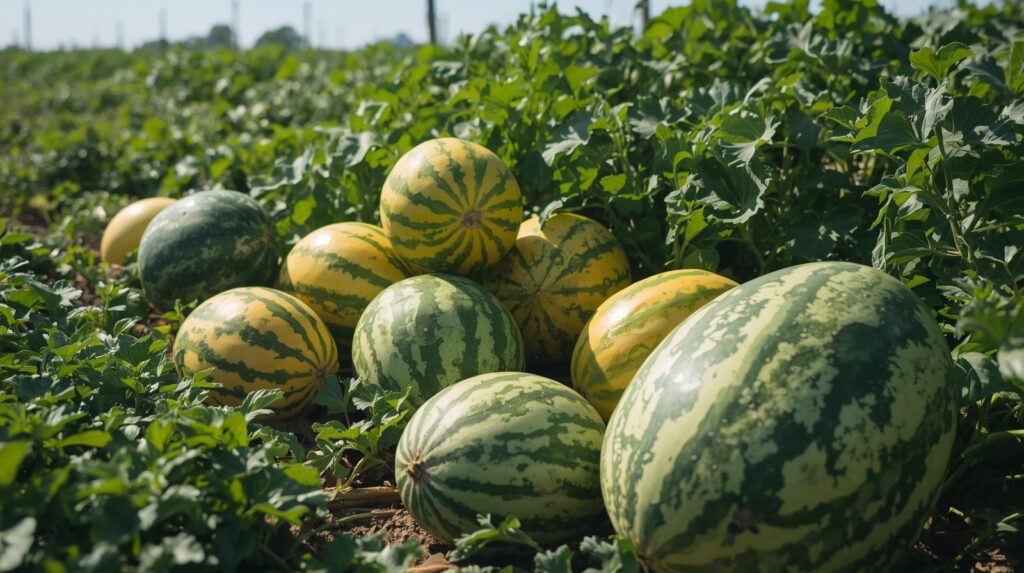
Harvest signals come when the ground spot turns yellow and the tendril nearest the fruit dries, typically 75-90 days from sowing, from June to September. The classic thump test— a deep, hollow sound—confirms ripeness. Cut stems with shears to avoid rind damage, harvesting in the cool morning for best quality.
Modern crews use conveyor wagons for efficiency, sorting on-site for size and defects. Chill fruits to 50°F in hydrocoolers immediately to lock in crispness, extending shelf life to two weeks. Pack in single layers with padding to prevent bruising, targeting markets with Brix readings for sugar content.
Post-harvest, disk under vines promptly to decompose and recycle nutrients, or compost for future beds, while monitoring for volunteer plants that could harbor diseases.
Sustainable Practices for Enduring Harvests
Contemporary watermelon farming in the U.S. integrates pollinator strips, recycled irrigation water, and biotech for fewer inputs, pushing yields to 25-40 tons per acre with minimal environmental strain. These methods support certifications that boost premiums from health-focused buyers.