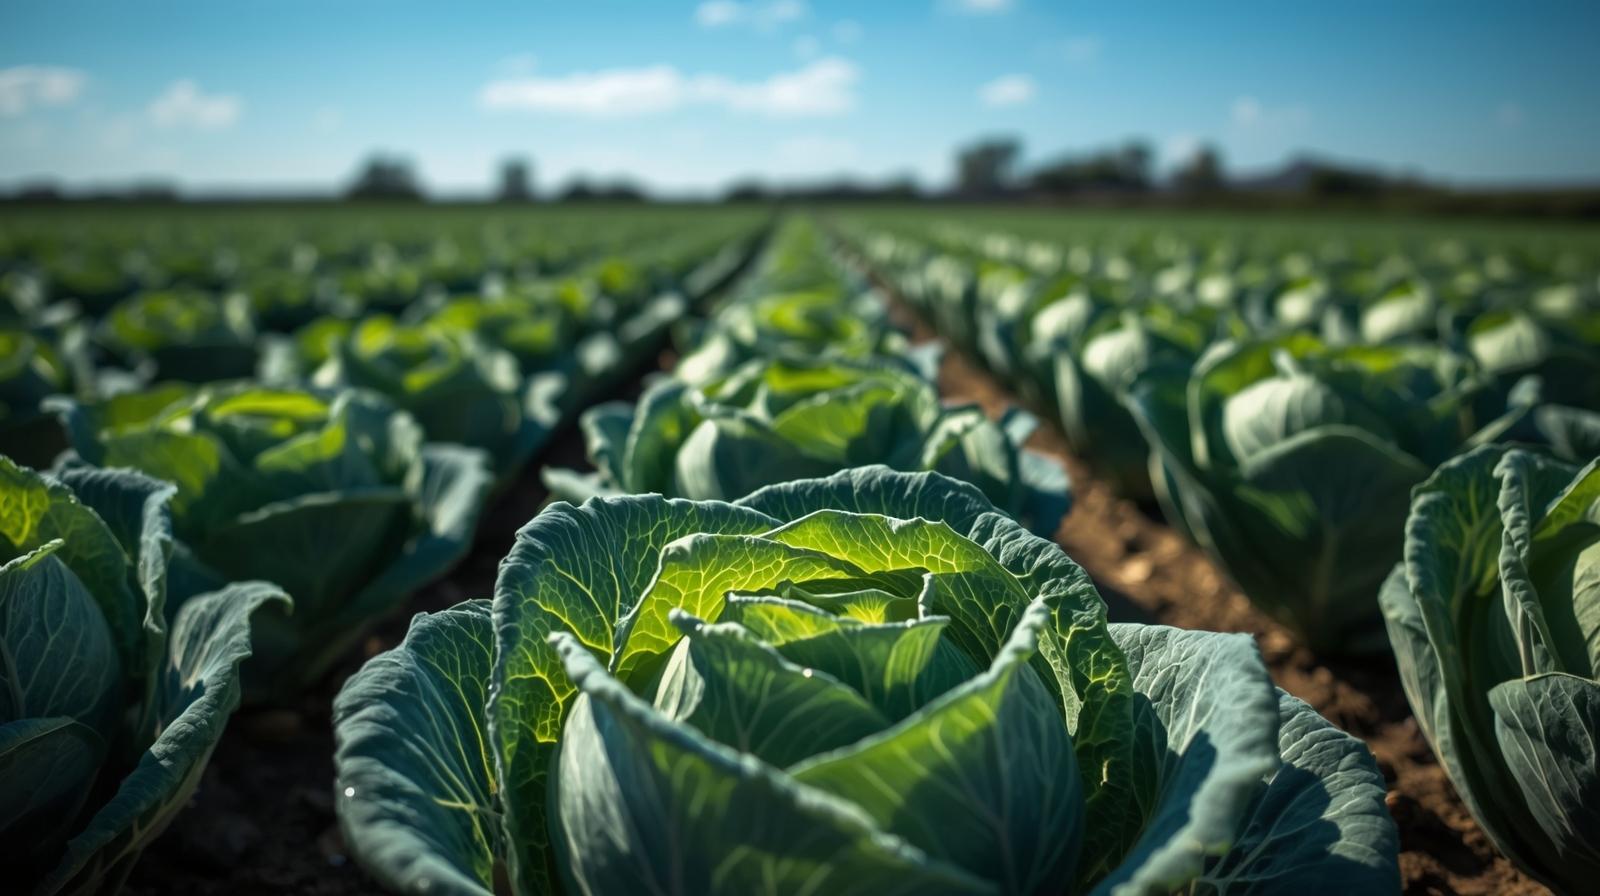
Cabbage is a staple vegetable in many American diets and a valuable commercial crop in the United States. Grown widely across temperate and cooler regions, it offers high returns when cultivated using modern farming techniques. From cole slaw and soups to fermented dishes like sauerkraut, cabbage is always in demand.
With the right practices, cabbage can be grown successfully across multiple seasons. This blog provides a complete, step-by-step guide to cabbage farming—from seed selection to harvest—designed to help modern farmers achieve higher yields and premium-quality heads.
1. Understanding Cabbage Crop Requirements
Cabbage is a cool-season crop and performs best in temperatures between 55°F and 75°F.
- Climate: Prefers cool, moist environments.
- Soil Type: Well-drained, fertile loamy or sandy loam soils.
- Soil pH: Ideal range is between 6.0 and 6.8.
- Sunlight: Requires full sun exposure for optimal growth.
Cabbage is sensitive to extreme temperatures; high heat can cause poor head formation, while frost can damage young seedlings.
2. Choosing the Right Cabbage Variety
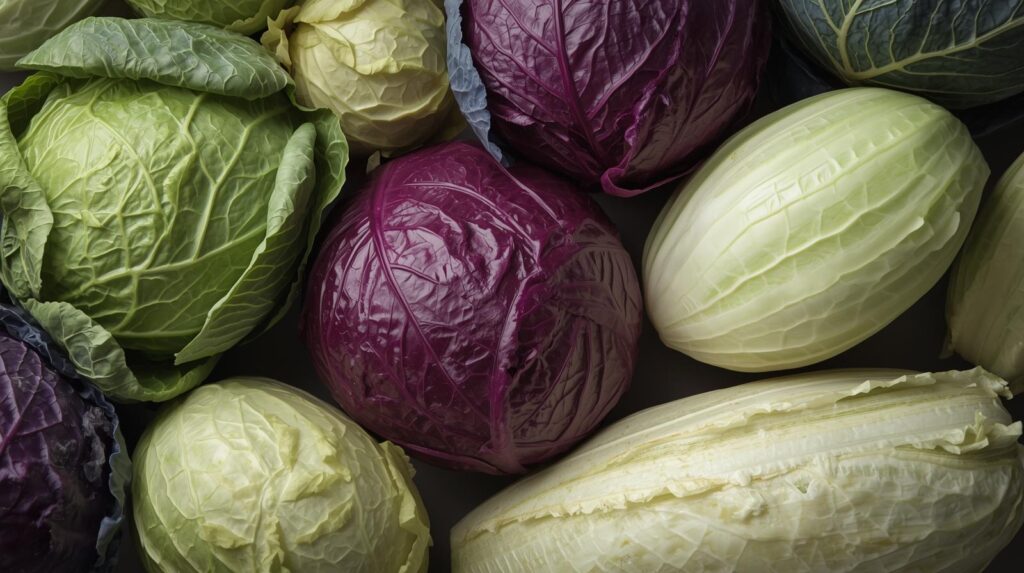
Variety selection depends on climate, market needs, and season.
- Green Cabbage: Most common variety used for fresh markets.
- Red Cabbage: Rich in antioxidants, popular in specialty markets.
- Savoy Cabbage: Crinkled leaves with a mild flavor.
- Hybrid Varieties: Preferred for uniform size, disease resistance, and improved shelf life.
Choose early, mid, or late-season types depending on the growing season and expected harvest period.
3. Nursery Preparation and Seed Sowing
Cabbage is generally raised in nurseries before being transplanted into the field.
- Sowing Time:
- Spring crop: Sow indoors 6–8 weeks before the last expected frost.
- Fall crop: Sow in mid to late summer depending on location.
- Seedbed Preparation:
- Use a fine-textured, disease-free growing medium.
- Sow seeds about ¼ inch deep with adequate spacing.
- Seedling Care:
- Maintain consistent moisture.
- Harden off seedlings by exposing them gradually to outdoor conditions 7–10 days before transplanting.
Healthy seedlings with 4–6 true leaves are ideal for transplanting.
4. Land Preparation and Transplanting
- Tillage: Deep plowing followed by 2–3 harrowings to create a fine tilth.
- Soil Enrichment: Add compost or well-rotted manure 2–3 weeks before planting.
- Bed Formation: Raised beds or flat beds can be used depending on soil drainage.
- Spacing:
- Between plants: 12–18 inches
- Between rows: 24–36 inches
Transplant seedlings in the late afternoon or on a cloudy day to minimize transplant shock.
5. Fertilization and Nutrient Management
Cabbage is a heavy feeder and requires a balanced supply of nutrients throughout its growth cycle.
- Basal Application: Apply phosphorus and potassium before transplanting based on soil test results.
- Nitrogen: Apply in 2–3 split doses—one at transplanting, one at early growth, and one before head formation.
- Micronutrients:
- Boron: Prevents hollow stem.
- Calcium: Reduces tip burn and promotes firm heads.
Use slow-release fertilizers or fertigation for controlled nutrient delivery.
6. Irrigation Management
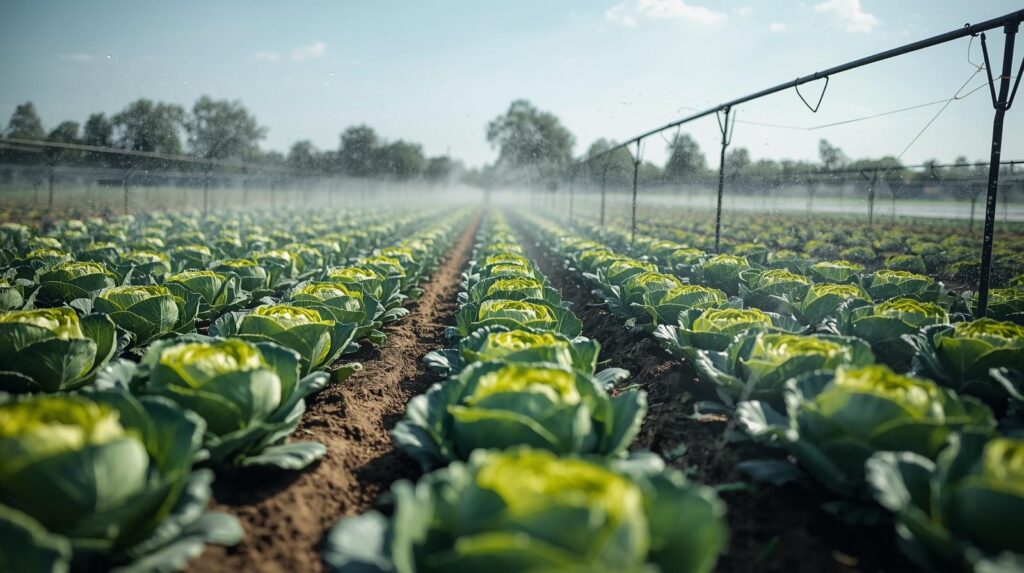
Cabbage requires consistent moisture to form tight, heavy heads.
- Irrigation Frequency: Water 1–1.5 inches per week depending on weather and soil type.
- Critical Stages: Maintain even moisture during head formation.
- Irrigation Methods: Drip irrigation is ideal to avoid wetting the foliage, which can lead to disease.
Avoid both overwatering and water stress to prevent splitting or poor head quality.
7. Weed Management
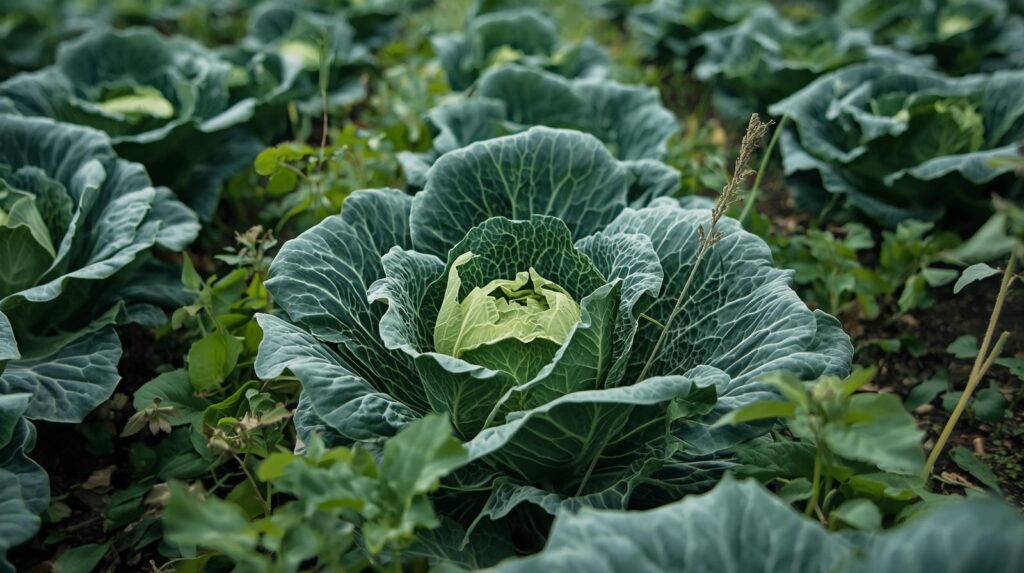
Weeds compete with cabbage for nutrients and water, especially during early growth.
- Pre-plant Weed Control: Use stale seedbed techniques or pre-emergent herbicides where allowed.
- Manual Weeding: Perform shallow cultivation to avoid damaging roots.
- Mulching: Organic or plastic mulch can help suppress weeds and retain soil moisture.
Timely weeding enhances crop health and reduces pest habitat.
8. Pest and Disease Management
Cabbage is susceptible to several pests and diseases that can severely affect yield and quality.
Common Pests:
- Cabbage loopers
- Aphids
- Flea beetles
- Cabbage worms
Common Diseases:
- Black rot
- Downy mildew
- Clubroot
- Alternaria leaf spot
Preventive Measures:
- Rotate with non-brassica crops.
- Use resistant varieties when available.
- Ensure proper spacing and field sanitation.
- Apply appropriate biological or chemical controls as needed.
Integrated Pest Management (IPM) strategies are recommended to minimize chemical inputs while effectively controlling threats.
9. Head Development and Monitoring
Cabbage heads begin to form 40–60 days after transplanting depending on variety.
- Monitoring: Check for uniform head size and tightness.
- Field Hygiene: Remove diseased or stunted plants promptly.
- Crop Maturity: Harvest when heads are firm and reach the desired market size.
Avoid leaving mature heads in the field for too long, as they may crack or bolt.
10. Harvesting
Harvesting at the right time is critical to preserve freshness and quality.
- Timing: Most cabbage varieties are ready for harvest between 70 and 120 days after transplanting.
- Method: Cut heads with a sharp knife, leaving 2–3 wrapper leaves for protection during transport.
- Post-Harvest Handling: Avoid dropping or bruising heads. Grade based on size and compactness.
Schedule harvesting during cooler hours of the day to maintain crispness and reduce field heat.
11. Storage and Market Preparation
Proper storage ensures cabbage maintains quality for longer periods, especially for wholesale or shipping.
- Storage Conditions: Keep at 32°F and 95% relative humidity.
- Shelf Life: Can be stored for 3–4 months under optimal conditions.
- Packaging: Use ventilated crates or bags to allow airflow and reduce rotting.
Trim excess leaves and remove damaged outer layers before sending to market.
