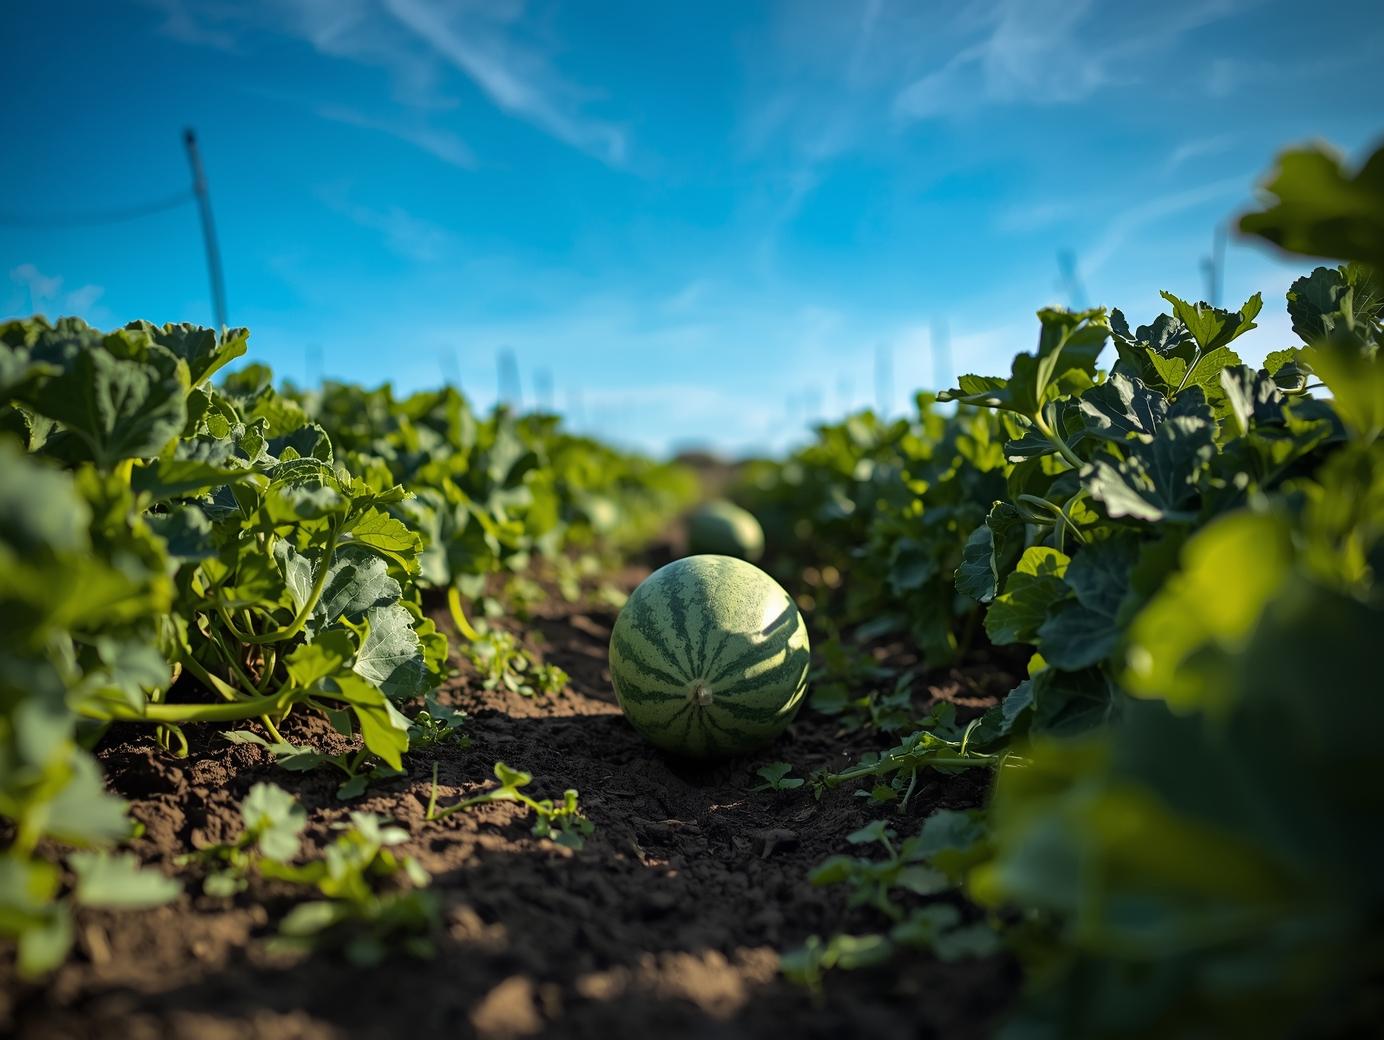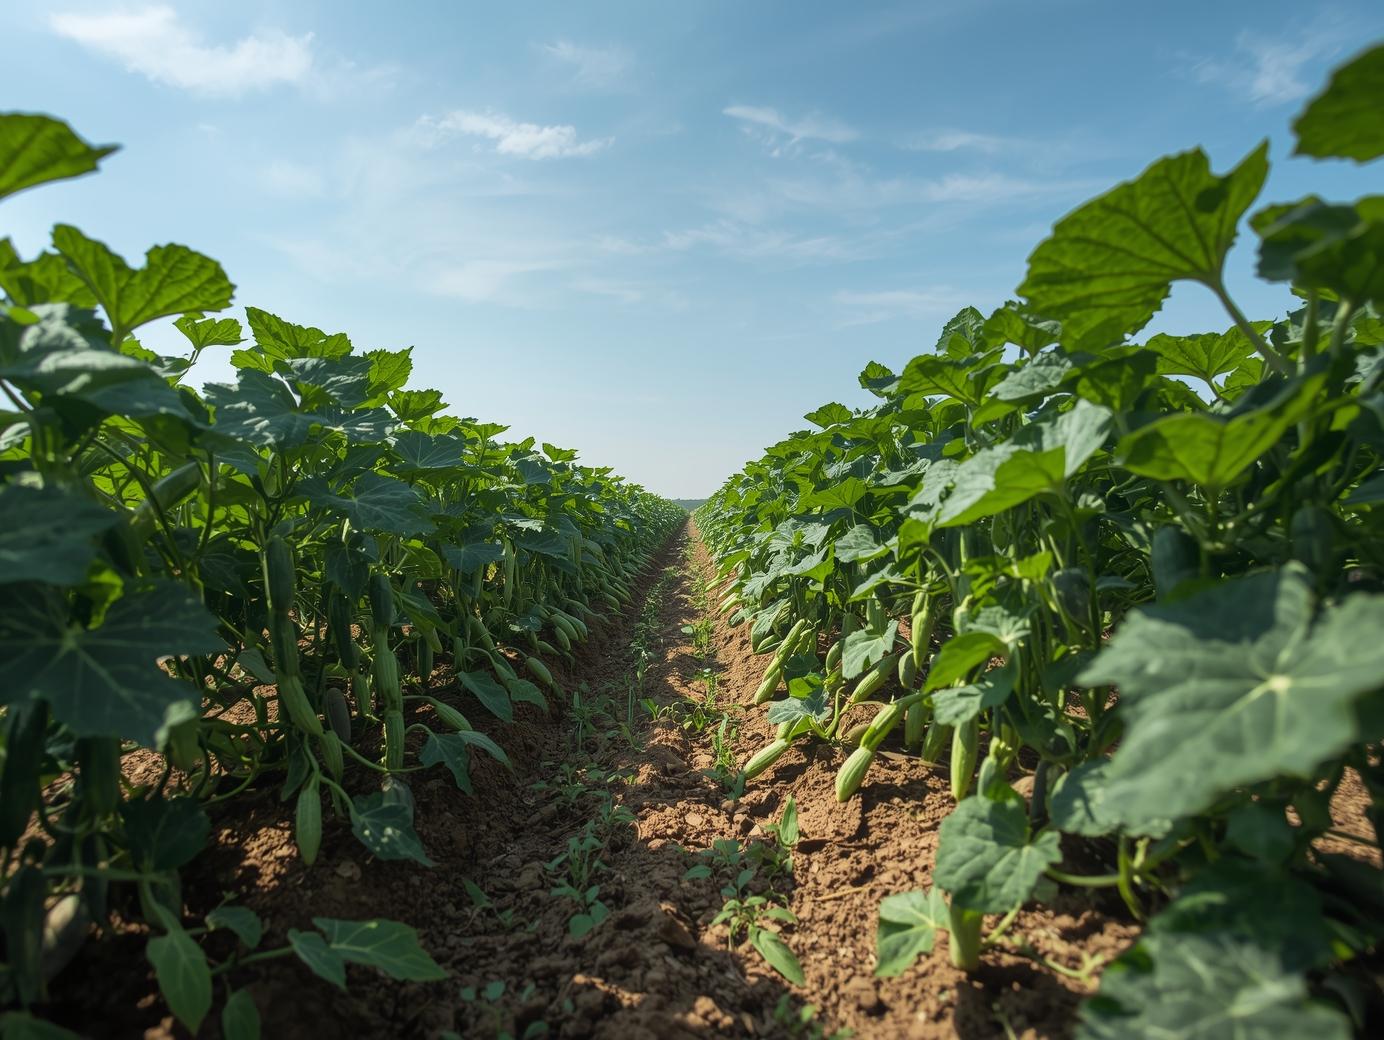
Tomatoes are among the most popular and widely cultivated vegetables in the United States. Their versatility in culinary use, nutritional benefits, and economic value make them a favored choice for both commercial growers and home gardeners. With advances in agricultural technology and modern farming techniques, tomato cultivation has become more efficient, sustainable, and productive.
This comprehensive guide will walk you through the entire tomato growing process—from seed sowing to harvesting—ensuring you achieve a high-quality, abundant crop.
1. Selecting the Right Tomato Variety
Choosing the right variety is critical to match your local climate, soil, and market needs.
- Types of Tomatoes: Decide between determinate (bushy, early fruiting) or indeterminate (vining, longer fruiting) varieties.
- Disease Resistance: Select varieties resistant to common tomato diseases such as Fusarium wilt, Verticillium wilt, and nematodes.
- Purpose: Consider whether you want fresh market tomatoes, processing varieties, or cherry/grape tomatoes for specialty markets.
Certified seeds or healthy transplants from reputable nurseries are essential for a strong start.
2. Preparing the Soil
Tomatoes thrive in fertile, well-drained soils with good organic matter.
- Soil Type: Loamy, sandy loam soils with a pH of 6.0 to 6.8 are ideal.
- Soil Testing: Conduct soil tests to determine nutrient status and amend accordingly.
- Land Preparation: Perform deep plowing and harrowing to loosen the soil and remove weeds.
- Organic Matter: Incorporate compost or well-rotted manure to enhance soil structure and fertility.
Good soil preparation promotes healthy root development and moisture retention.
3. Seed Sowing and Nursery Management
Tomatoes are generally started indoors or in protected nurseries before transplanting.
- Sowing Time: Start seeds indoors 6-8 weeks before the planned transplant date.
- Seed Depth: Sow seeds about ¼ inch deep in seed trays or flats.
- Temperature: Maintain a soil temperature of 70-75°F for optimal germination.
- Light: Provide adequate light (natural or artificial) to prevent leggy seedlings.
- Watering: Keep the growing medium moist but not waterlogged.
Seedlings should be hardened off gradually before transplanting outdoors.
4. Transplanting to the Field
Transplant healthy seedlings when they have 6-8 true leaves and the risk of frost has passed.
- Spacing: Space plants 18-24 inches apart in rows 36-48 inches apart, depending on the variety and growing system.
- Planting Depth: Plant seedlings slightly deeper than they were in the nursery, allowing roots to develop along buried stems.
- Timing: Transplant during cooler parts of the day to reduce transplant shock.
- Mulching: Use plastic mulch or organic mulch to conserve soil moisture, control weeds, and maintain soil temperature.
Proper transplanting sets the stage for vigorous growth.
5. Irrigation Management
Consistent moisture is vital, especially during flowering and fruit development.
- Irrigation Method: Drip irrigation is preferred for water efficiency and disease prevention.
- Frequency: Irrigate regularly to keep soil evenly moist; avoid overhead watering to reduce fungal diseases.
- Water Stress: Avoid both drought and waterlogging, as stress can cause blossom end rot and poor fruit set.
Monitoring soil moisture helps maintain optimal growing conditions.
6. Fertilization
Balanced nutrition supports healthy plants and high yields.
- Basal Fertilization: Incorporate phosphorus and potassium before transplanting based on soil tests.
- Nitrogen Application: Apply nitrogen in split doses during vegetative growth and early flowering.
- Micronutrients: Ensure adequate calcium to prevent blossom end rot; consider foliar sprays if deficiencies appear.
Controlled-release fertilizers or fertigation can optimize nutrient uptake.
7. Pruning and Training
Especially for indeterminate varieties, pruning enhances airflow and sunlight penetration.
- Pruning: Remove suckers (side shoots) to focus energy on main stems and fruit.
- Staking or Trellising: Support plants with stakes, cages, or trellises to keep fruit off the ground and reduce disease.
- Canopy Management: Regularly remove diseased or yellowing leaves.
Proper training improves fruit quality and reduces disease pressure.
8. Pest and Disease Management
Tomatoes are vulnerable to a range of pests and diseases.
Common Pests:
- Aphids
- Tomato hornworms
- Whiteflies
Common Diseases:
- Early blight
- Late blight
- Septoria leaf spot
Management Practices:
- Use resistant varieties.
- Implement crop rotation and field sanitation.
- Monitor crops frequently and apply integrated pest management strategies.
- Use organic or chemical controls when necessary and follow label instructions.
Early intervention reduces crop losses and maintains plant health.
9. Flowering and Fruit Development
Tomato plants flower about 6-8 weeks after transplanting.
- Pollination: Tomatoes are self-pollinating; however, gentle shaking or presence of pollinators improves fruit set.
- Fruit Growth: Regular watering and nutrient supply during this phase are critical.
- Fruit Thinning: In high-density planting, thin excessive fruit to promote larger and better-quality tomatoes.
Maintaining optimal conditions during fruit set maximizes yield.
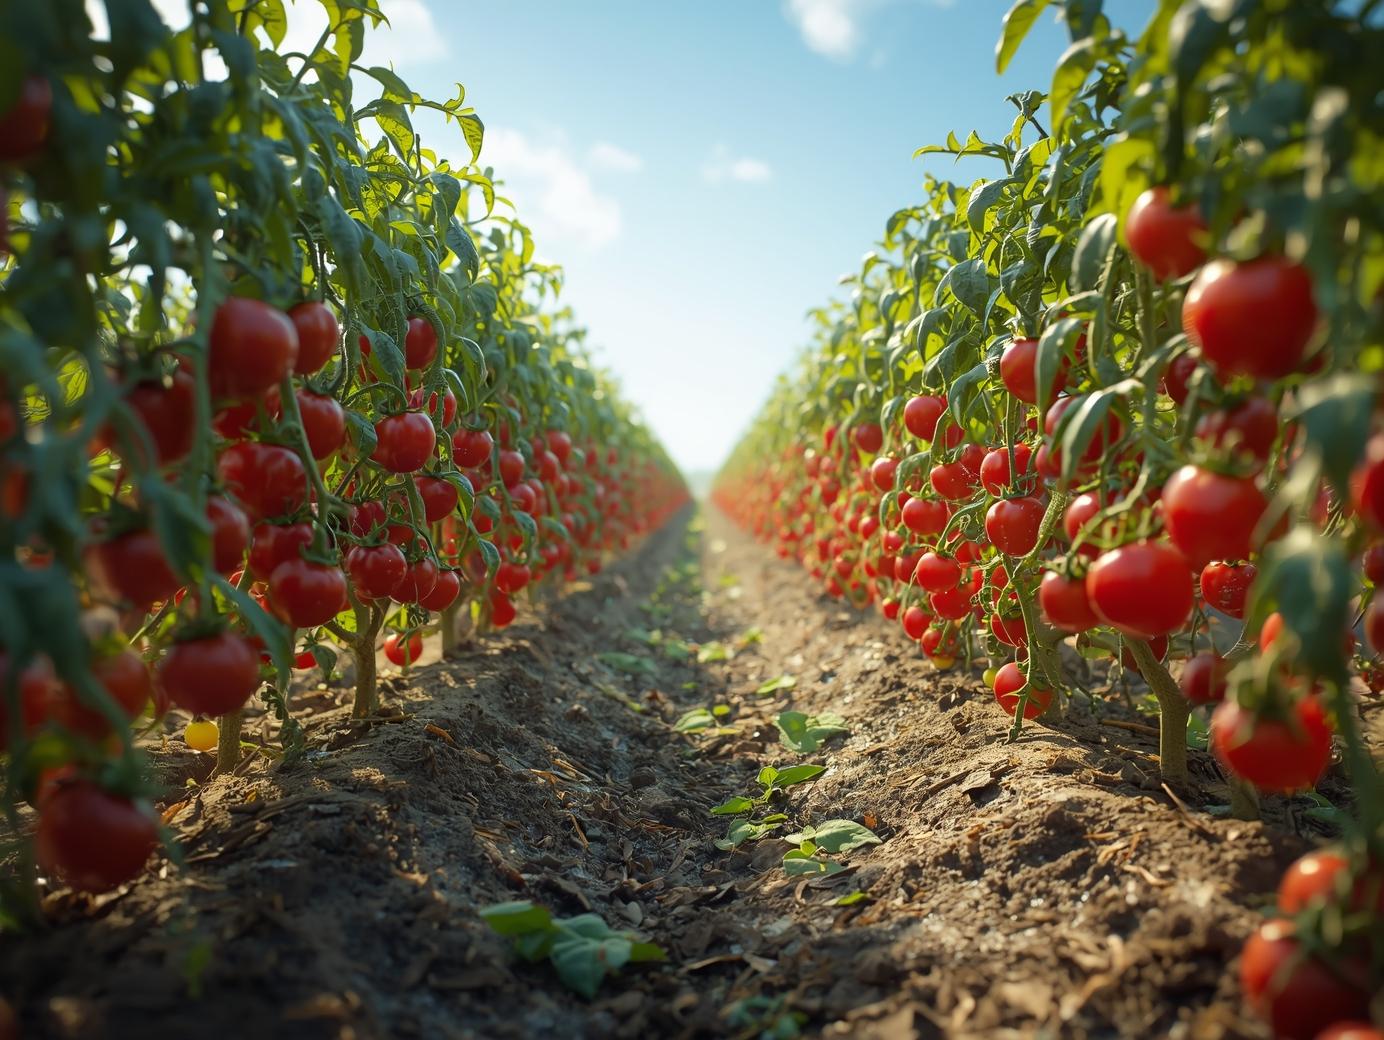
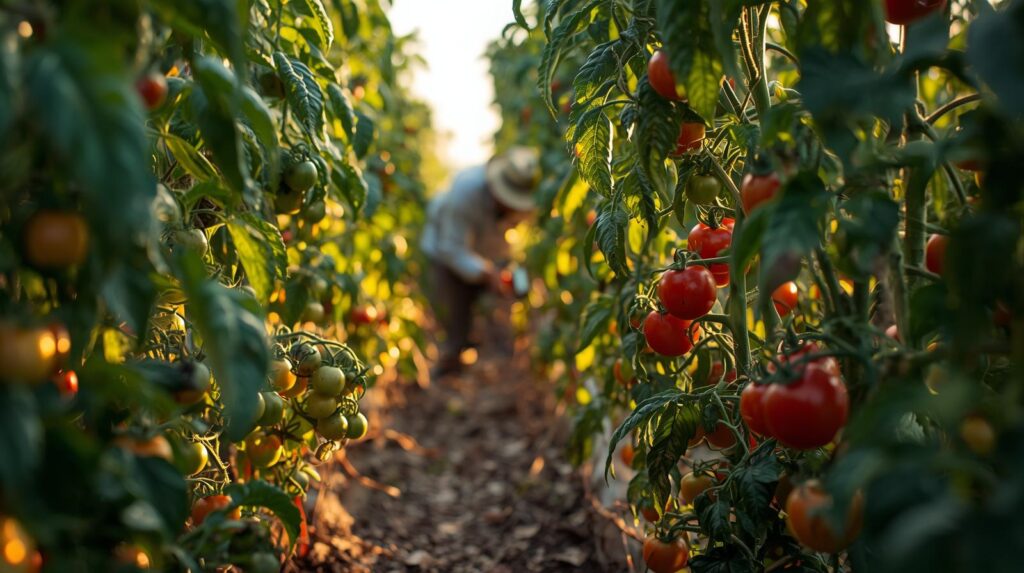
10. Harvesting
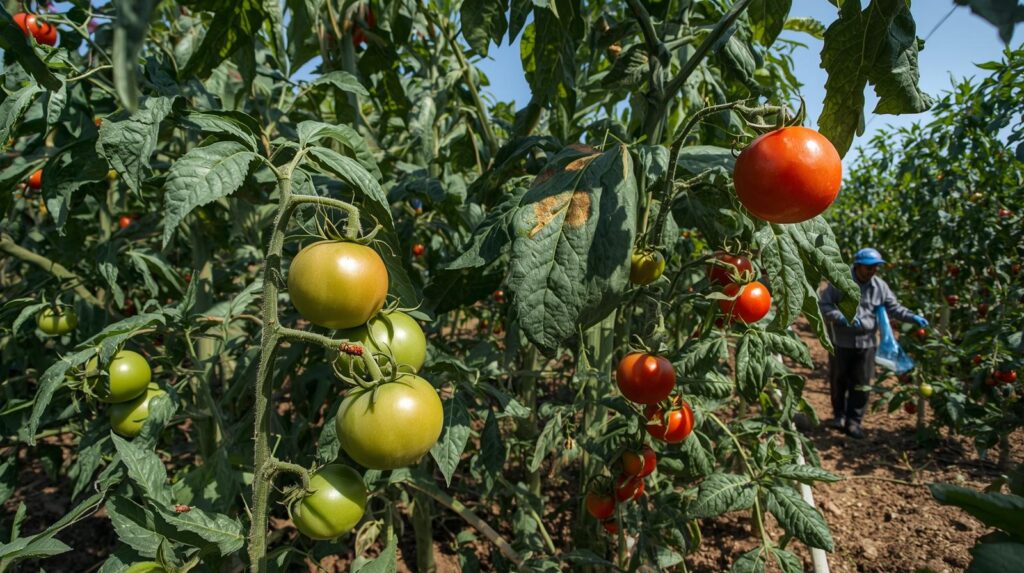
Harvest tomatoes when they reach full color and firmness appropriate for the variety.
- Timing: Harvest begins approximately 60-85 days after transplanting, depending on the variety.
- Method: Gently pick fruits to avoid bruising; harvest regularly to encourage continuous production.
- Post-Harvest: Handle carefully and store tomatoes at 55-70°F to preserve flavor and texture.
Timely harvesting ensures maximum flavor and shelf life.