
Robotics has emerged as one of the most transformative fields in science and technology, shaping industries, enhancing productivity, and redefining human interaction with machines. From manufacturing floors to healthcare, and even space exploration, robotics is playing a critical role in driving innovation and economic growth, especially in the United States.
At its core, robotics involves the design, construction, operation, and use of robots—machines capable of performing tasks autonomously or with minimal human intervention. These tasks range from repetitive and dangerous jobs to highly precise and complex procedures. The integration of robotics with cutting-edge technologies such as artificial intelligence (AI), machine learning, and computer vision has significantly expanded the capabilities of robots, making them smarter, more adaptable, and increasingly indispensable.
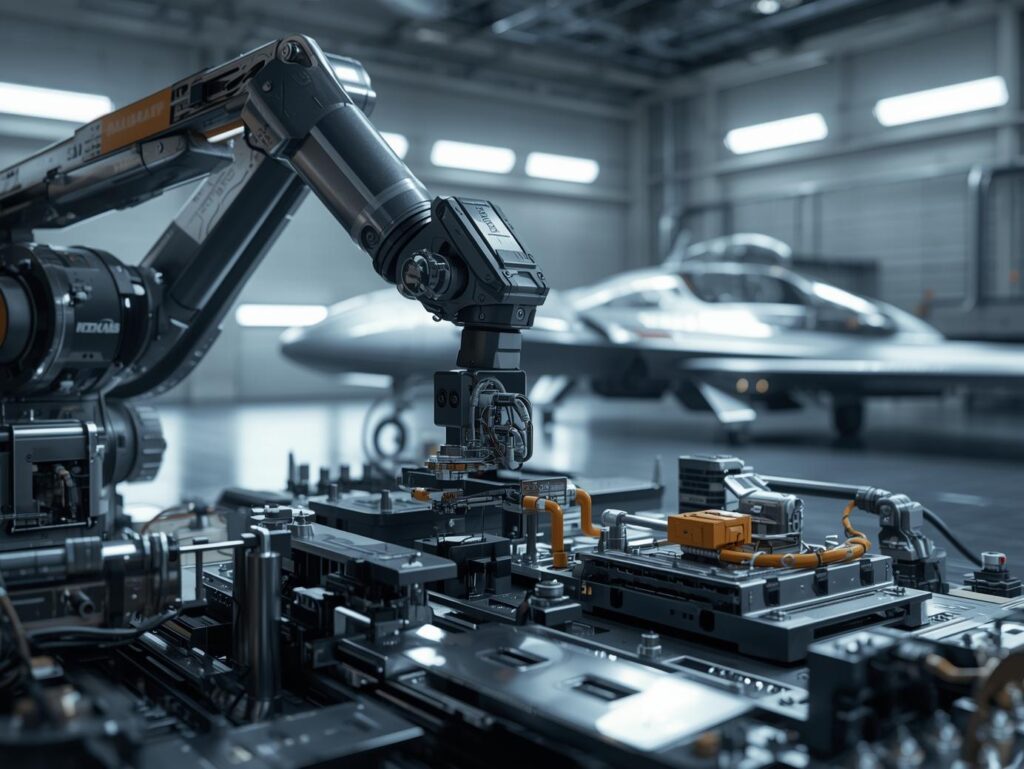
One of the most prominent areas where robotics has made a profound impact is manufacturing. The United States has seen a surge in the adoption of industrial robots, which are used for assembling, welding, painting, and packaging. These robots improve efficiency, reduce errors, and enhance workplace safety by taking over hazardous tasks. The evolution of collaborative robots, or cobots, is particularly noteworthy. Cobots work alongside human operators, assisting them with tasks that require precision and strength, without compromising safety.
In healthcare, robotics is revolutionizing patient care and surgical procedures. Surgical robots allow for minimally invasive operations with greater accuracy and reduced recovery times. Rehabilitation robots assist patients in regaining mobility, while robotic exoskeletons support individuals with physical disabilities. Furthermore, telepresence robots enable doctors to consult with patients remotely, expanding access to medical expertise across geographical barriers.

The aerospace and defense sectors in the USA are also leveraging robotics for exploration and security. Autonomous drones are used for surveillance, disaster management, and delivery of supplies to inaccessible locations. Robotic rovers explore planetary surfaces, collecting valuable scientific data that enhances our understanding of the universe. These advancements highlight how robotics contributes to national security and scientific discovery simultaneously.
In everyday life, consumer robotics has gained popularity with devices such as robotic vacuum cleaners, lawn mowers, and personal assistants. These smart machines not only simplify daily chores but also demonstrate the growing acceptance and integration of robotics into American households.
The future of robotics promises even more revolutionary changes. The ongoing research focuses on improving robot autonomy, emotional intelligence, and human-robot interaction. Breakthroughs in sensors and materials science are enabling robots to better perceive and navigate complex environments, while AI advances ensure continuous learning and adaptation.
The United States stands at the forefront of this robotic revolution, supported by a robust ecosystem of research institutions, startups, and technology giants. Investments in STEM education and government initiatives encourage innovation and prepare the workforce for a robotics-driven economy.
In conclusion, robotics is no longer a futuristic concept but a present-day reality transforming science and technology across multiple domains in the USA. Its continuous evolution holds the promise of creating smarter, safer, and more efficient systems that enhance the quality of life and drive economic prosperity. As robotics technology advances, it will undoubtedly play a pivotal role in shaping the future landscape of American society and industry.